Showing posts with label crafts. Show all posts

08 June 2011

Yo-Yo T-Shirt


Awhile back a friend gifted me with a few articles of clothing that she no longer needed and/or no longer fit. This shirt was one of them. I love the soft grey color, but the sleeves were always a little loose down by my wrists. When I wore the shirt I usually rolled up the sleeves to my elbows. Then I had a thought about the last t-shirt reconstruction I did. If I could cut the sleeves off that shirt, why not this one?

So I did.


15 May 2011

Ity-Bity Cake Stand

I have had the busiest week. First there were finals, I started my cake decorating class, and then my boyfriend graduated with his Bachelor of Science (whoo!) This of course meant there was family in town and I'd have eight people in my house, myself included. There was a lot going on. What does this have to do with the blog; aside from excuses for the lack of posts? Well, let's keep going.

I make a lot of tiny cakes. There's only two people in my household and making a large one would be excessive. So that's just fine and dandy but something that's been starting to get to me is the fact that these little cakes look so silly on my nice cake stand.


See what I mean? Not so majestic sitting up there. It's like wearing clothes that are too big, it's not flattering in the slightest.
The thing is, though, that I'd never had a real reason other than vanity to have a little cake stand. The large one does a fine job of displaying my cakes and there was no need for anything more.

That time has come.

In planning to host these seven people at my humble abode for a couple of meals I also planned to bake a cake! What kind of host would I be if I didn't? One that didn't serve cake, obviously.
So wouldn't one full sized cake be more than enough? Normally, this would be true, but one of my guests has some allergies and she'll be getting her very own tiny gluten and dairy free cake!

Now that the big stand will be host to a butter and wheat flour cake I'm going to need something else to display the tiny one.

I know that there are many do-it-yourself cake stands out there, but this is a first for me.

For this project I gathered
  • A dry erase marker
  • Small glass dish
  • Small glass cup-thing
  • Adhesive
  • Q-tip, one cotton end cut off
  • Ruler


This is a great project, and super cheap. The glassware cost me $1.50 at the thrift stores. Clean it up and it's perfect! 

02 May 2011

Bonsai Tool Roll-Up Bag


Bonsai trees are amazing, aren't they? Itsy-bitsy living trees. In my home we have six. At the moment they're all new and at that beginning stage. One day they'll be fully grown, tiny trees. You see, my very talented boyfriend has just started this tree hobby and has taken quite a liking to it. I never realized before just how much goes into the whole process. Root trimming, branch shaping; a lot of time and energy goes into these.

I like to encourage hobbies so last Christmas bought him some actual bonsai tools. They came in a little cardboard box and he was ecstatic. However, we started thinking that the tools needed something more permanent than that little cardboard box. I took upon myself to do something about it.

The design was basic enough so I sketched up an idea and got some materials together.

  • Canvas
  • Straps
  • Cutting board
  • Rotary Cutter
  • Fabric scissors (which I did not have at the time but have since purchased. Good decision on my part)
  • Fabric marker
  • Pins


See how simple my drawing is? Easy stuff. 

The first step was to figure out how long I wanted it to be when it was all rolled out and how wide. I then folded up the bottom to form a flap. This was where I'd be stitching up pockets. I got a little too into the project and didn't take a picture. You'll see what I mean in the next part.

I cut out some rectangular pieces that I wanted to be extra pockets, folded up the edges and pinned them to the flap, being sure I didn't pin them to the back of the bag.

14 April 2011

The Girl Wonder | Introduction | Utility Belt

Has anyone had an idea, a simple idea, that ballooned into something larger? Something so incredible you can't believe you didn't think of it earlier? It may now be the best idea ever?

Okay, I may be building this up a bit. Simply put: I am a five year old boy at heart.

I decided that this year for my birthday I would have a Batman themed party. I was really just thinking of going to Target for some party supplies, make a yellow and black cake, and call it good. As I was telling this to a friend of mine, however, she made the statement that "we could all dress up!"

A light turned on. Yes, yes we could dress up.

That is, if everyone was willing. Not everyone enjoys that sort of thing but as luck would have it, my friends are awesome. I've got myself a costume party. Not just any costume party, either. Did I mention we'll be bowling?


This of course means that I'll have to make all kinds of things! There are goodies to bake and costumes to sew! I gave my friends free range and told them it doesn't have to be from Batman if they'd like something else. Funny enough, there will be a Batman but it won't be me.
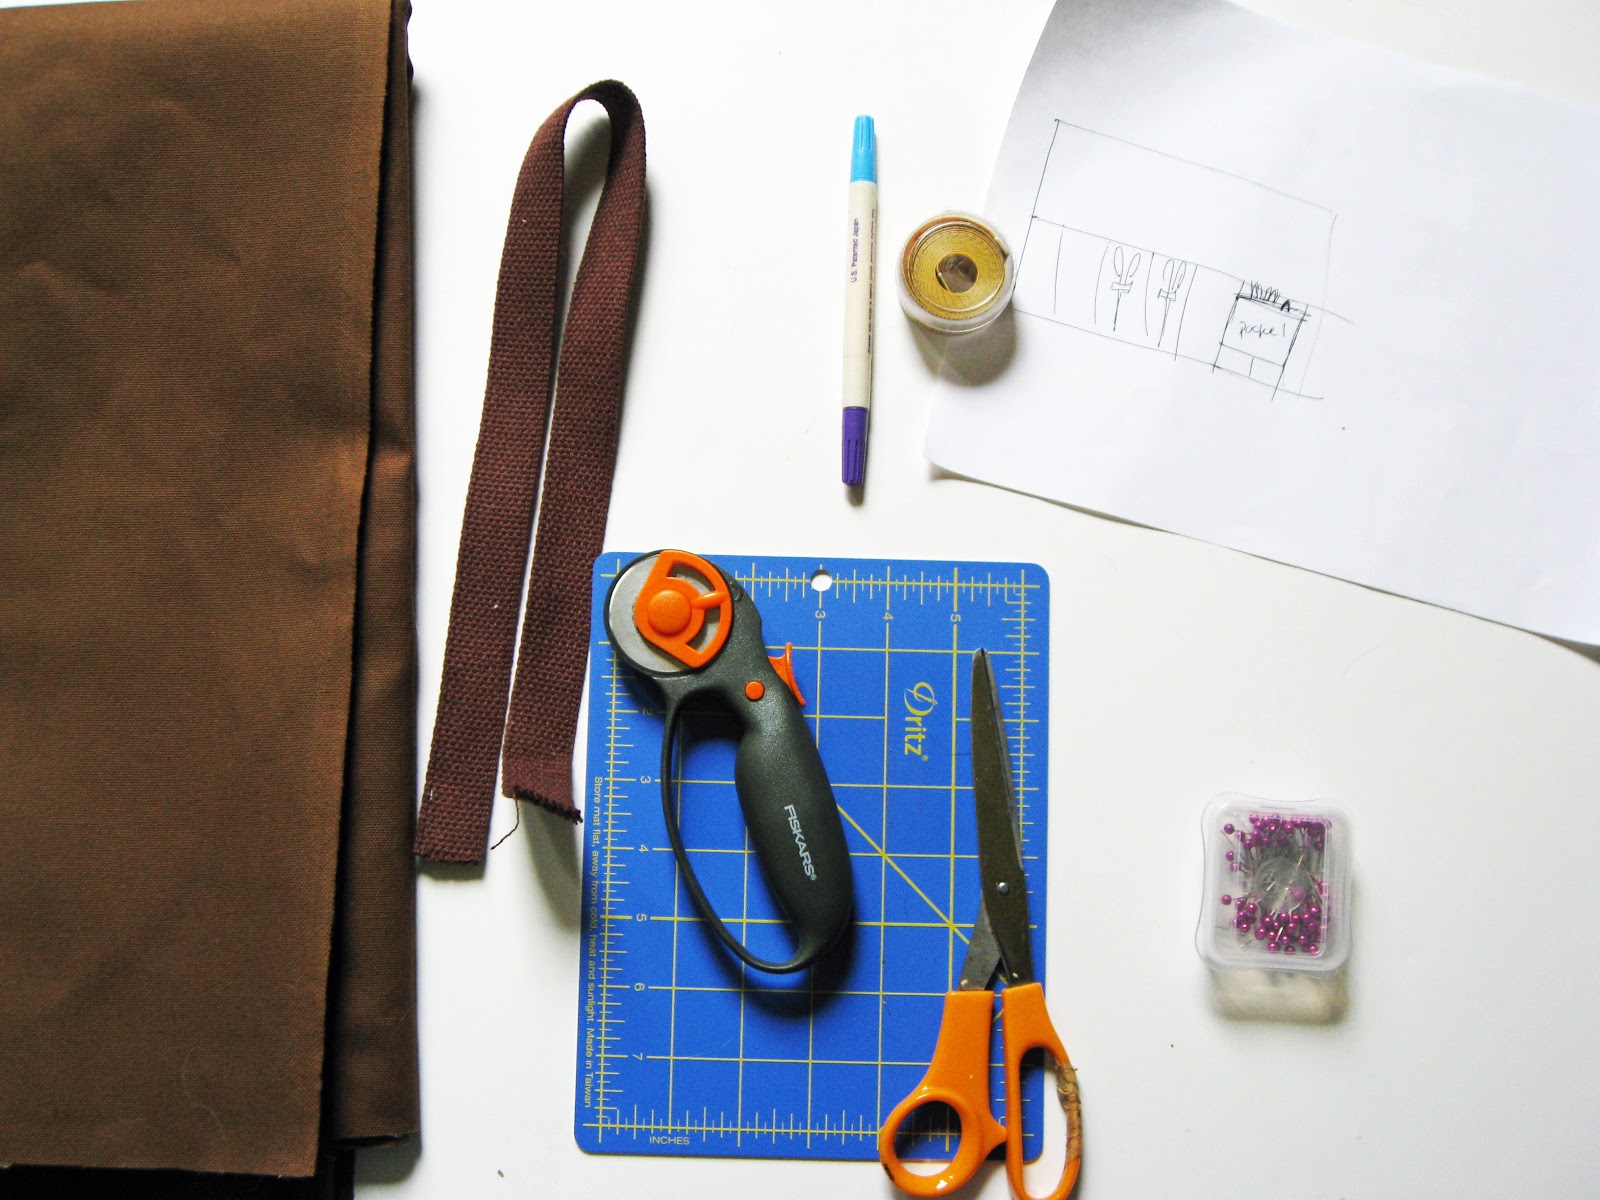
As the blog title suggests: I'll be Robin. So for the next week I'll be going through the party crafting process. Today is the utility belt.  


26 March 2011

DIY wall art!

Those vinyl stickers are all the rage, right? I know I love them. They always look really neat and they're handy for those who aren't allowed to paint on their walls (or those who don't feel they're good enough to paint on their walls).

I decided the other day that a door in my house was boring and needed a change. I haven't painted anything in a long while so I didn't have any art to hang... so I could make something new. After seeing this picture I was inspired. Also, I loved this from Amazon, but $25.00 for stickers? No. As pretty as they are, no.

Using an old frame that I had and some contact paper I came up with a solution.