
Bonsai trees are amazing, aren't they? Itsy-bitsy living trees. In my home we have six. At the moment they're all new and at that beginning stage. One day they'll be fully grown, tiny trees. You see, my very talented boyfriend has just started this tree hobby and has taken quite a liking to it. I never realized before just how much goes into the whole process. Root trimming, branch shaping; a lot of time and energy goes into these.
I like to encourage hobbies so last Christmas bought him some actual bonsai tools. They came in a little cardboard box and he was ecstatic. However, we started thinking that the tools needed something more permanent than that little cardboard box. I took upon myself to do something about it.
The design was basic enough so I sketched up an idea and got some materials together.
- Canvas
- Straps
- Cutting board
- Rotary Cutter
- Fabric scissors (which I did not have at the time but have since purchased. Good decision on my part)
- Fabric marker
- Pins
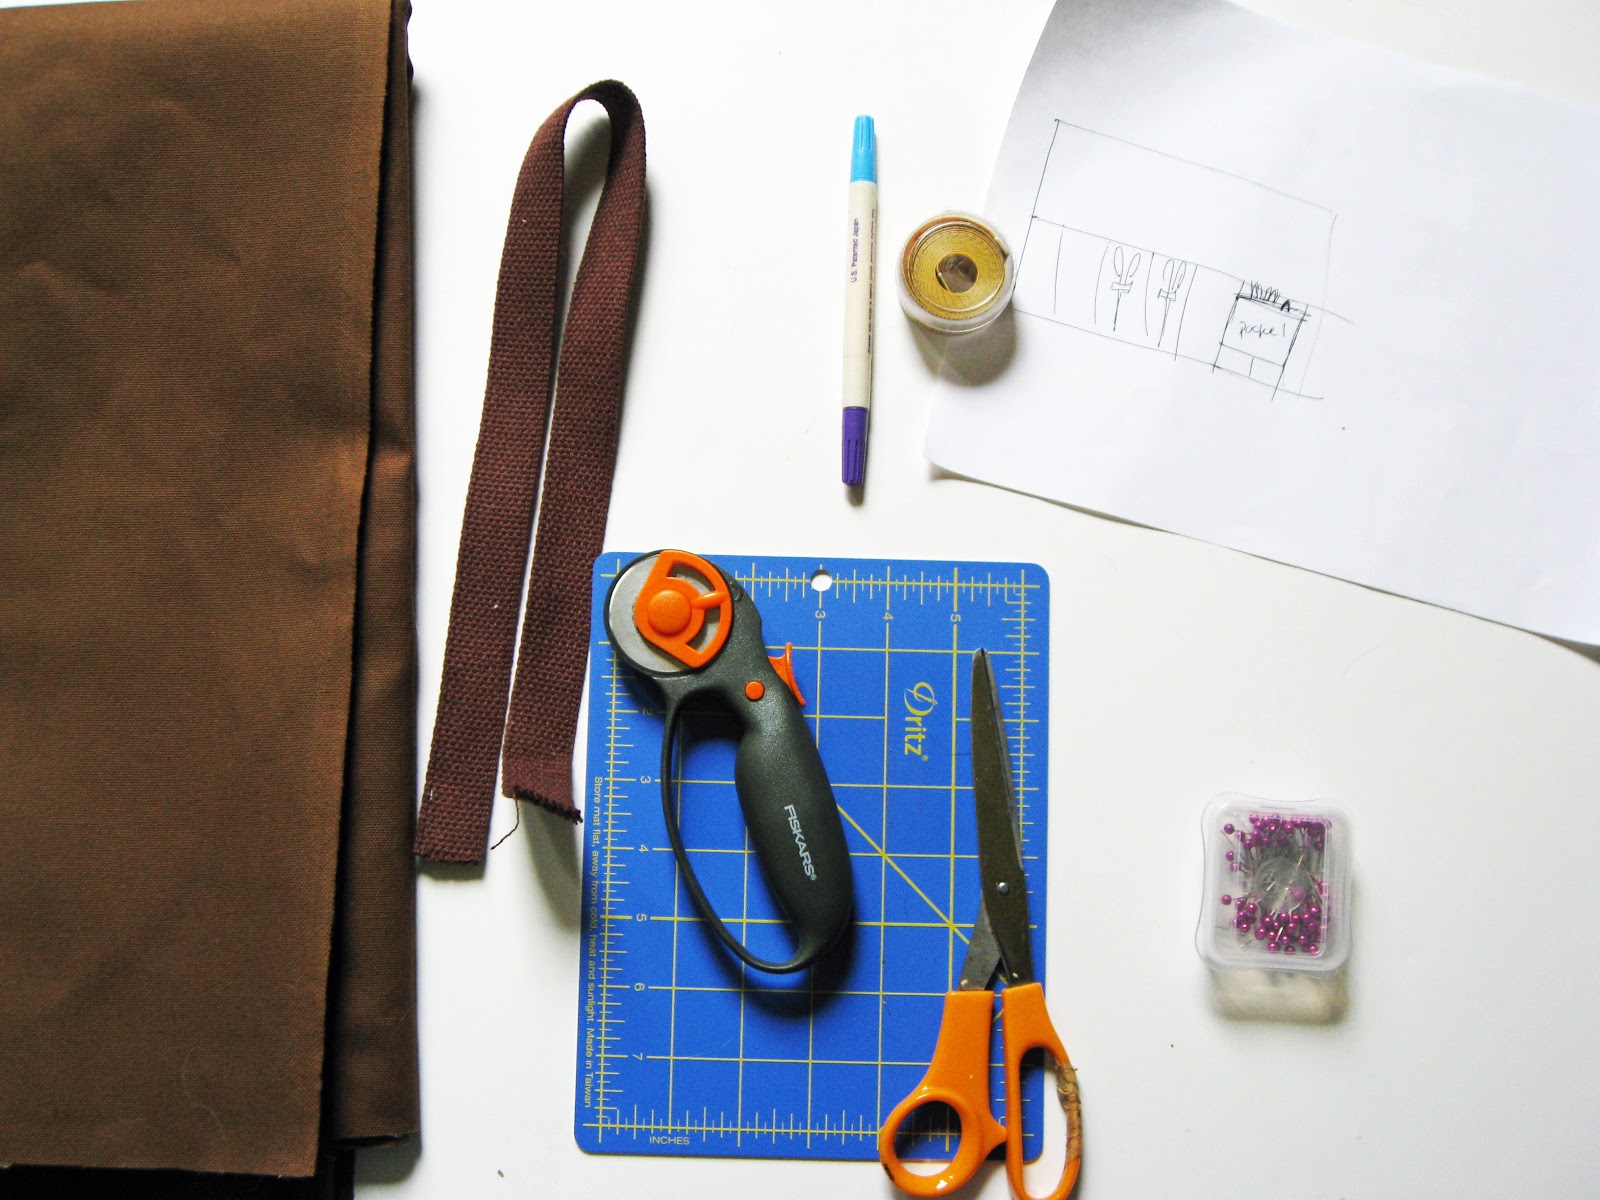
See how simple my drawing is? Easy stuff.
The first step was to figure out how long I wanted it to be when it was all rolled out and how wide. I then folded up the bottom to form a flap. This was where I'd be stitching up pockets. I got a little too into the project and didn't take a picture. You'll see what I mean in the next part.
I cut out some rectangular pieces that I wanted to be extra pockets, folded up the edges and pinned them to the flap, being sure I didn't pin them to the back of the bag.


Next step was to actually place the tools inside that large pocket and mark how much room each one will need. Then I stitched up the lines I made and now each tool has its own individual pocket.


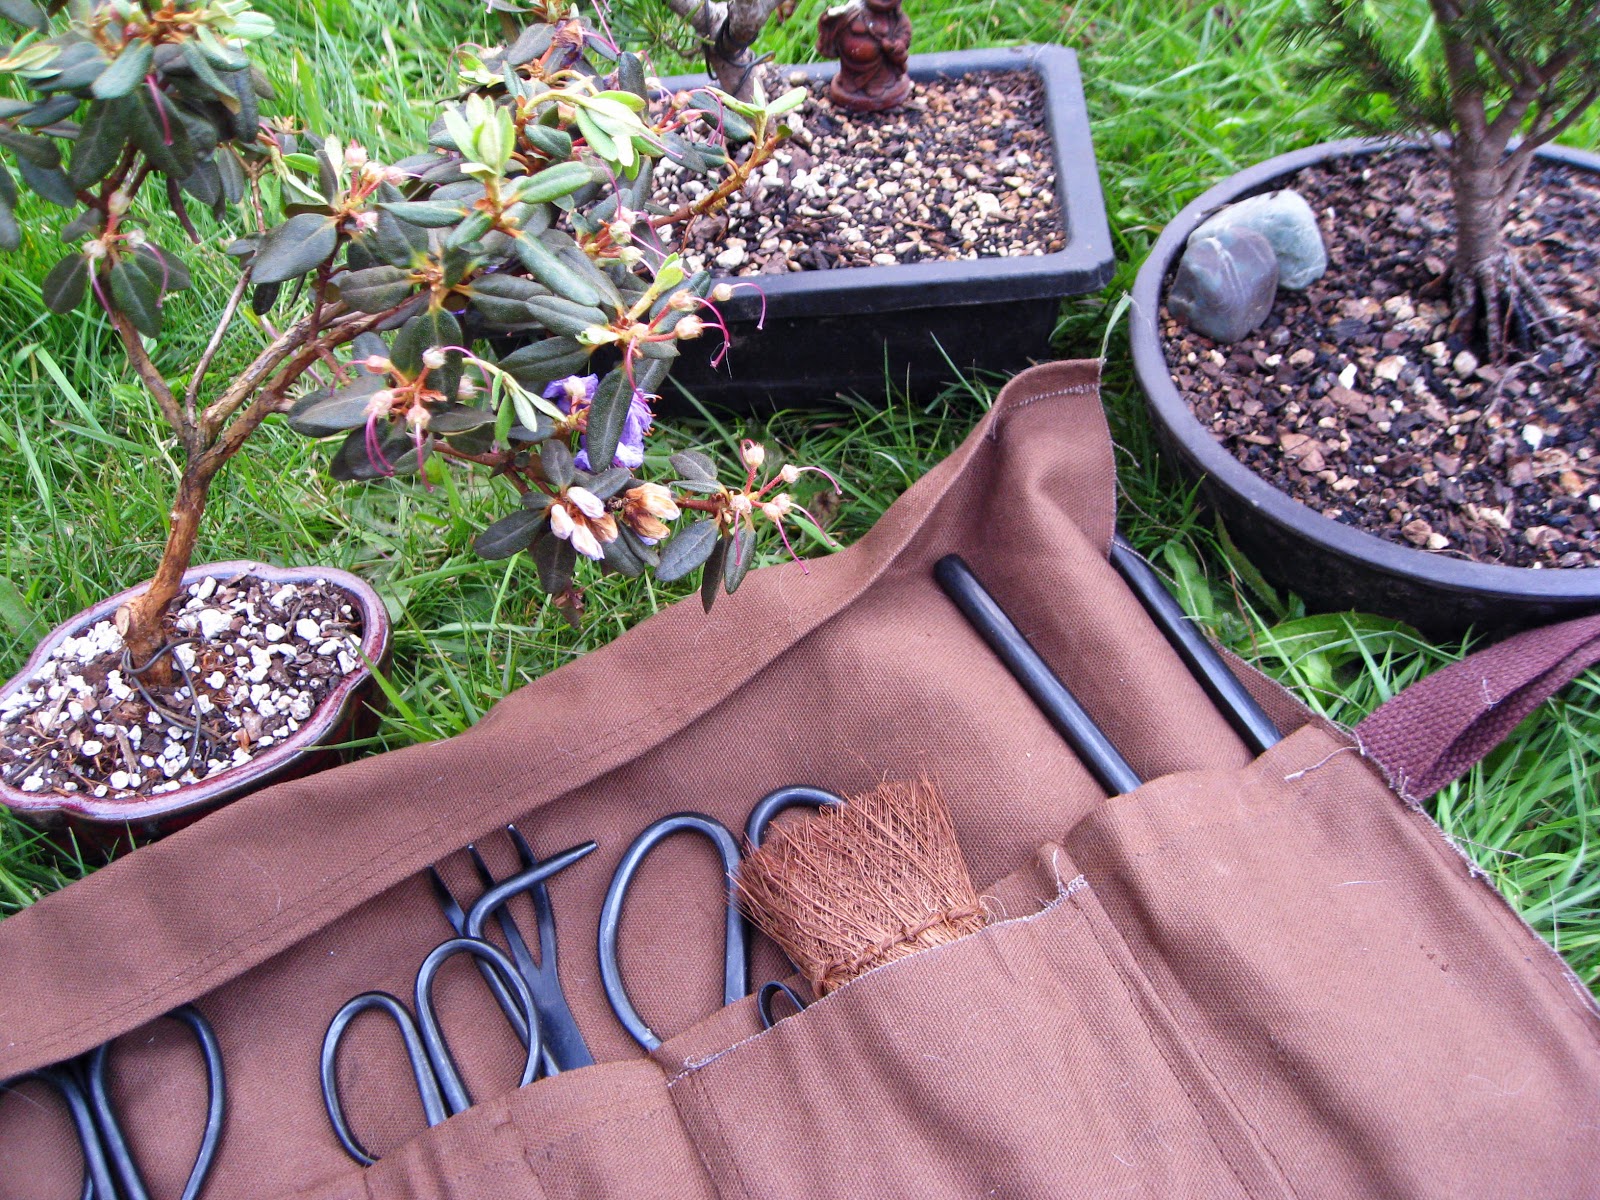
Hey, neat! Let's see what it looks like with some tools...


Not too bad at all. I do wish now that it had a longer strap (I only got two feet, I'd recommend a yard) but it works and I can do better next time.

xoxo
Stephanie
This comment has been removed by a blog administrator.
ReplyDelete